We're doing a few things new for our Easter basket this year. One of them was inspired by an image being passed around on facebook and in Pinterest. The kids and I thought it was worth a try, so we picked up some foam shaving cream (a harder thing to do than expected; apparently they're mostly gel creams now) and some neon food colouring. I was going to try Cool Whip as well, but in the end decided against it, since we're already doing several other kinds of eggs, too.
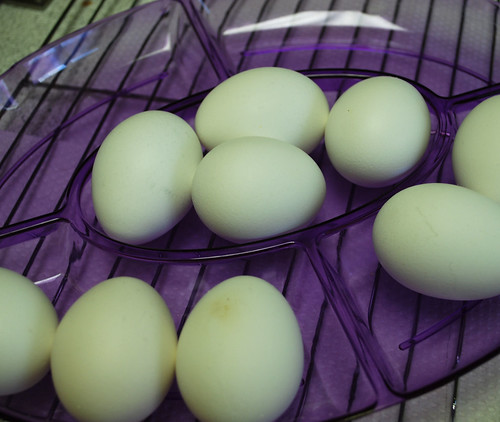
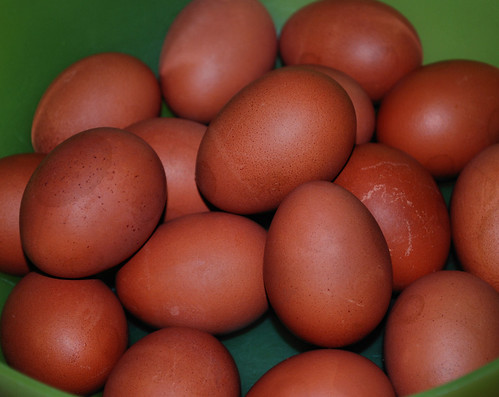
So today, while my husband took our younger daughter out to see the new GI Joe movie (she loved it), my older daughter and I started on eggs. Even how we cooked the eggs was different this year. Instead of boiling the eggs for colouring, we baked them - another trick from Pinterest. We put a dozen eggs into a muffin tin and roasted them at 350F for about 18 minutes. We've done it before and it worked our rather well, and this way we could do the dragon's eggs and kraszanki on the stove top at the same time.
Unfortunately, three of the eggs burst their shells while baking, so we were down to nine. We also lost one of the eggs we soft boiled in preparation for the dragon's eggs.
Lunch was egg salad.
When it came time to dye the eggs, things didn't go quite as smoothly as the Pinterest instructions made them seem!
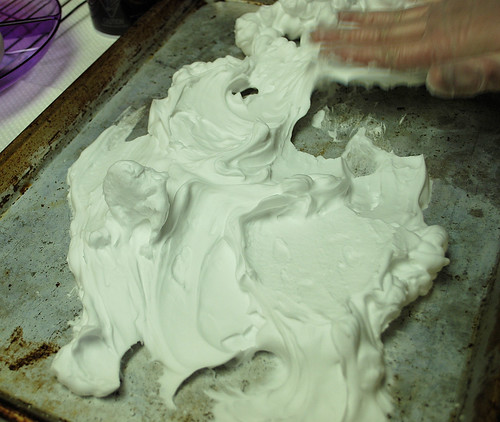
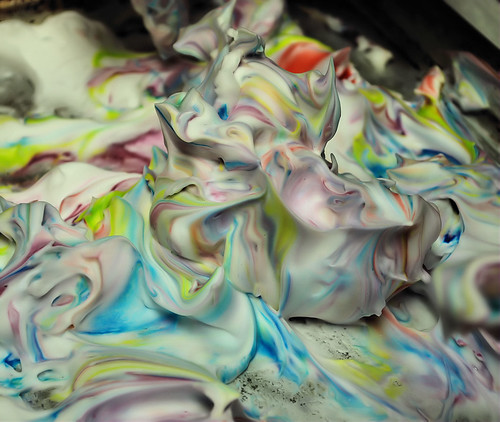
The first thing was to spread the shaving cream in a jelly roll pan. My daughter, with gloved hands (that's a must!) tried to spread it about.
It didn't want to spread. It kept wanting to kinda roll around and stick to her hand. Weird.
She eventually got it done. Then it was time to add the colour.
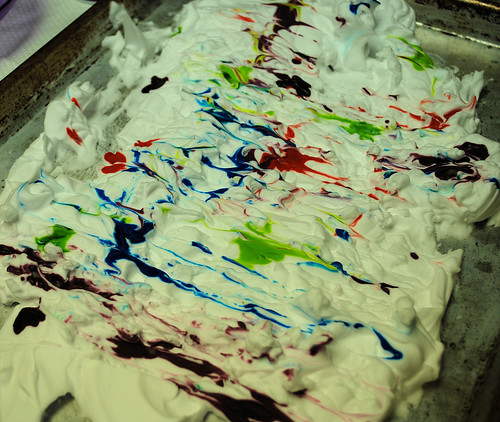
The neon food colouring sure came out darker than expected. Those green spots? Those are supposed to be yellow.
Somehow, I expected the colour to sorta spread a bit into the foam. Not sure why. Oh, well. Next step! Using toothpicks to mix in the colours.
Hmmm... That... doesn't seem to be working out too well. This stuff is NOT mixing into the shaving cream well at all.
Maybe it'll spread out more when the eggs are actually being rolled around in them.
Oh, dear.
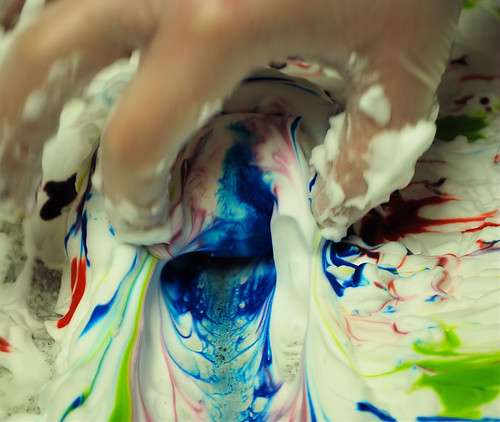
The eggs did NOT want to roll in this stuff! They just sorta slid around, so my daughter had to forcibly turn them. They kept trying to slide away.
Well, we
were warned in the instructions that this would be messy!
Then it was onto a wire rack to sit.
We went through a lot of paper towels today.
There's an egg in here. Honest.
The colours did mix a bit more as time went on, but with only nine eggs left to colour, that didn't mean a whole heck of a lot. Some of the eggs ended up with almost no coloured cream on them at all, no matter how my daughter forced them around on the pan.
One the eggs were done and on the rack, my daughter gleefully reverted to a five year old and played in the coloured shaving cream before cleaning up the pan. She had a blast!
The instructions had said to leave the eggs for a few minutes for the colours to set. A blog post I'd read by someone who tried it said that they weren't really colourfast (she'd made the mistake of rinsing the cream off with water). We decided to let them sit longer.
I went for a nap. My daughter worked on a painting.
Two hours or so later, this is how they turned out.
Well, it kinda worked! The cream was first wiped off with paper towels, then they were rinsed under water, and after two hours, the colours held. Yes, that almost white egg is how it dyed, not the result of being rinsed in water.
The method was rather fun to do, and a messy, sloppy kind of way. I don't know that we'll ever do it again, though. I don't know that the final result is worth the effort. Not when we can have alternatives like these.
This is how our kraszanki turned out. This year, along with using skins from yellow and red onions, we also added a spoonful of turmeric paste - the same paste we use to make
Golden Milk.
Then, when it came time to do the second cooking of our dragon's eggs, with the tea and spices, I decided to take the leftover liquid from the kraszanki and adding it to the dragon's eggs, just to see what difference it would make. You can find the
recipe we usually use here.
On the outside, quite a lot! The shells usually don't take on much colour at all. However, these are made to be peeled, and it did affect the colour in the crackle effect, too.
When it came time to peel the eggs, we didn't lose any more of them at all, and there's a reason for that! I tried another hint I'd read about and added a teaspoon of baking soda to the water in the first cooking of the dragon's eggs. While it worked marvelously - the shells just slid right off! - I don't recommend it for doing this type of egg. After the first cooking, when the eggs were cool enough to handle and it was time to start cracking the shells, you could feel that the membrane was separated from the egg, right from the first crack, and it make the whole process more delicate. This is something to save for eggs that do NOT need to have their shells cracked before they are coloured!
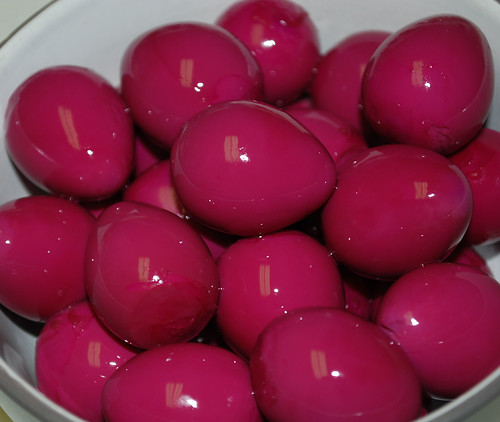
Then there were these guys.
We had done
Pink Pickled Eggs last year and loved the look of them. This year, we decided to try it with quail eggs! They were much harder to peel than regular eggs and we lost about five of them. These were in the pickling liquid for about five days. I'm really looking forward to seeing how deep the colour has gone into the eggs compared to regular chicken eggs!
So that's what we've done with our eggs for this year. If you want to see more photos, I've got them all in a
photo set in my flickr account.
Enjoy!