Part Two
Part Three
A couple of extras I decided to do, besides decorating the front, was to add a pocket on the spine to hold a pen, plus a button closure. First up, the pen pocket.

The pocket itself is just a rectangular piece worked in rows of sc. It needs to be about 3/4 the length of a pen - shorter, and the pen might catch on things and get yanked out. For the width, make it slightly wider than the spine. With the chunky yarn I used, I worked 4 rows of sc, then turned the corner at the end to continue a sc border around 3 sides. Finish off the yarn end.
With the cover on the book, pin the pocket in place with one end near the bottom edge of the spine. There should be some space above the top of the pocket where the top of the pen will show. How much depends on the size of your book. Once the pocket is pinned securely in place, remove the cover from the book. Using matching yarn and a tapestry needle, sew the pocket in place to match the width of the spine. With the pocket worked up to be slightly wider than the spine, this will create a slight space for the pen to fit into. I used a double running stitch around the sides, and buttonhole stitch across the top of the pocket.
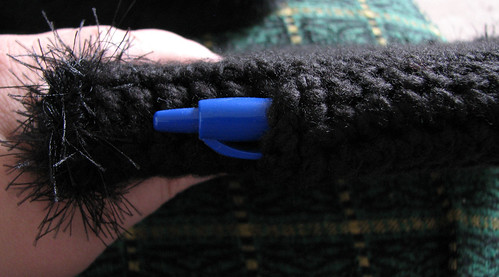
The finished pocket.
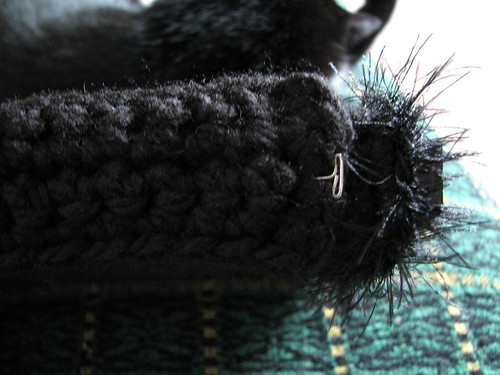
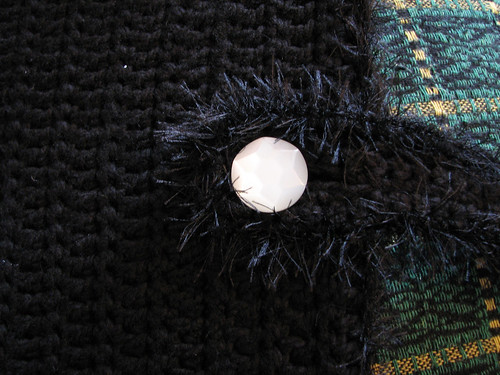
The body of the botton closure is made similar to the pocket. After digging through our buttons and finding one I liked, I worked up another rectangular strip in rows of sc. For the length, first decide where the button will go (it can be sewn into place at this time). The strip needs to be able to extend slightly past the button, wrap around the book's edge, then extend a matching distance on the back. For the width, it needs to be slightly wider than the button itself. For the button hole, work out how many stitches to skip based on the size of the button. For the chunky yarn I used, the strip is 4 rows of sc wide, and the button hole is 3 sc long. Two sc were worked at the end to secure the button hole. I worked the button hole in the 3rd row. Five stitches before the end of the row I did 3 foundation sc, skipped 3 sc in the previous row, then worked 2 sc at the end. If your strip needs an uneven number of rows to be wider than the button, the button hole will need to fall in a row instead of between row. In that case, just do regular chain stitches instead of foundation sc. It leaves a larger hole, which can be outlined in buttonhole stitch later on, if needed.
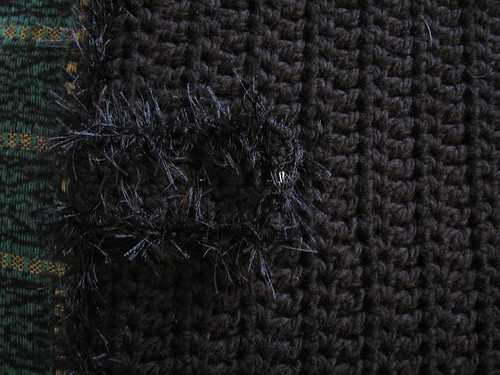
Once the strip was worked up, I finished off the yarn, then edged the strip in the faux fur yarn to match the edging of the cover.
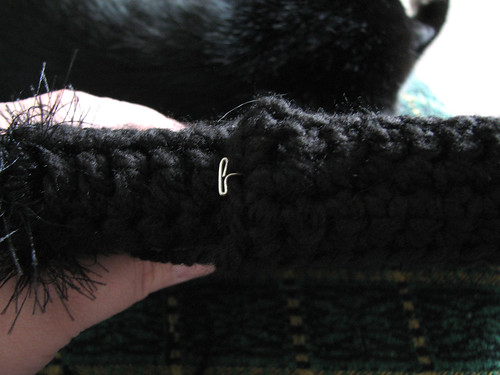
To affix the button closure strap, put the cover with the secured button on the book, then button the strip in place.
Take the loose end around to the back and pin it in place. Once it is positioned properly and securely pinned, unbutton the strip, remove the cover and sew the end securely with matching yarn.
Once again, the cover can be considered done at this point. In one last part, I've got a removable flower motif and decorative brads finishing the cover.
No comments:
Post a Comment