Part Two
Now it's time to close up the flaps and work the edges.
Remember those long tails I said to leave behind in part one? Time to use them. If you haven't left long enough tails for the sewing, weave them into the piece, then use some fresh yarn.

If needed, figure out which side of the piece is the inside and which is the outside. Folding a flap to the inside at the dc row, tack the edges closed with a few stitches. If you're using a contrast edging, you just need to make sure the edges stay in place. Loose yarn ends can be covered in the edging. If you're not doing an edging, whip stitch it securely and weave the ends in.
Close up other side of the flap, then repeat on the other end. You should now have a rectangular piece with two "pockets" for the book's cover to fit into.
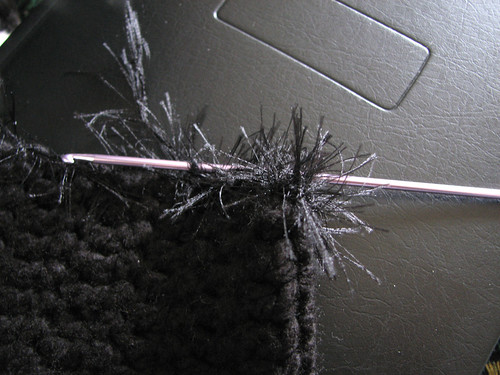
Start the contrast edging at a corner, working from the front. When working the flap area, make sure the edging is worked into both layers, catching in any loose yarn ends and securing the edges of the flaps to the main body.
For the yarn I chose for my edging, I switched to a much smaller hook and worked sc all around the edge, keeping the stitches fairly close together for denser furriness.
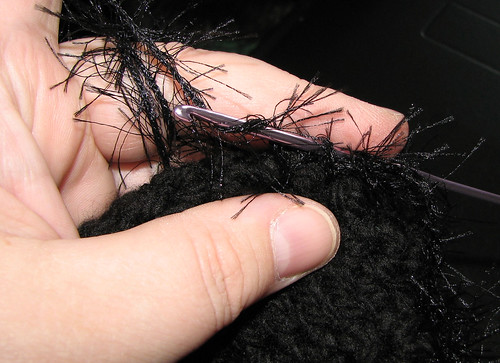
When reaching the end, do a few extra stitches to turn the corner, then work the edging around the posts of the folded dc row.
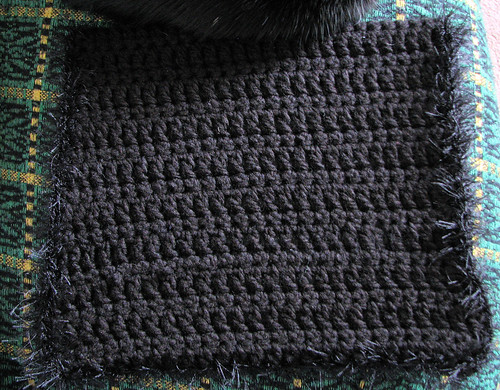
Work around all sides and fasten off yarn. Here, the journal is wearing its cozy new outfit.

Here's a few of one of the inside flaps.
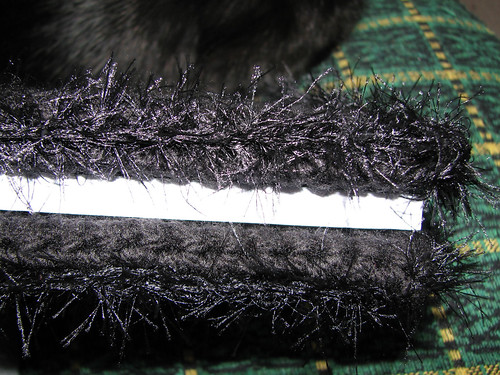
And finally, a few of the edge.
At this point, the book cover can be considered done. The following parts are all optional extras I did, just for fun.
No comments:
Post a Comment