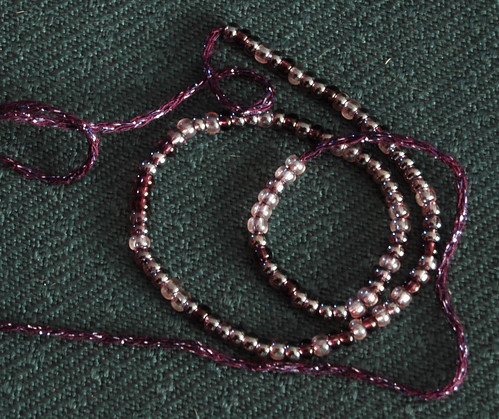
I don't plan to add the optional ribbon shown in the pattern photo, but I did want to add some something extra. I decided to add a row of beads in the first sc row of the neck line, which required pre-stringing half the number of beads as I had rows I'd sc into. The beads I chose are a mix of pinks and purples called Lilac Lustre, from DeSerres. I meant to string them randomly, but it turned out they didn't all have the same size holes, with the darker colours tending to be too small to string while all the pinks strung easily. Because of the thickness of the yarn on the needle right at the eye, I still ended up having to use pliers to draw them through. :-/
In the instructions, I was supposed to do all the rounds for the yoke from the right side of the sweater. With the beads, I did the first sc round from the inside so that the beads would be on the outside. Starting at the back, I did 1 sc at the top of each hill and valley, making sure to slide up a bead into the sc in a valley on the wrong side, so it'd be on a hill on the right side.
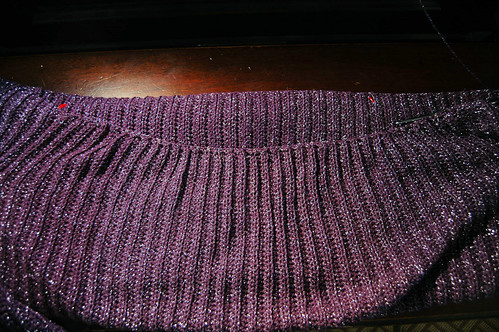
Here, I've done most of the back and flipped it right side out, to show how much the neckline is being pulled in in the process.
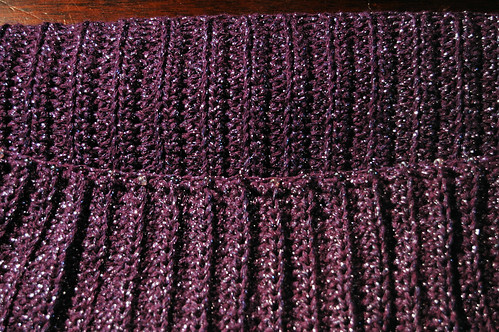
Here you can actually see the beads, as well as compare the beaded back to the unworked front. The colours of the beads are very subtle, which is exactly what I wanted. I was a bit concerned that the pink would stand out more than I wanted it to, but it blends in nicely.
After the beaded row was done, I turned the work right side out again to do the next couple of rows. After this point, the rows began to decrease.
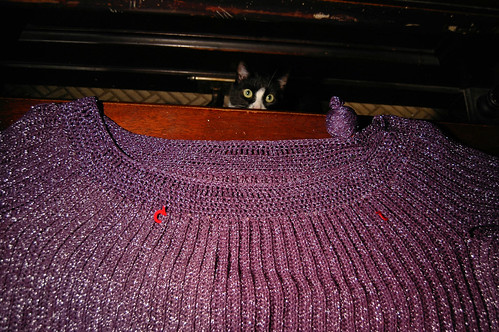
Here we have the completed yoke (and my daughter's crack eyed kitty, who was fascinated by the ball of excess yarn peeking over the edge of the piano bench. Yes, she tried to get it. ;-D ). When I finished the yoke according to the instructions, I decided not to end off the yarn. I used some stitch markers to secure the slip stitched loop and attach what was left of the yarn to the fabric so it wouldn't pull, then tried it on.
I am so glad I did that!
With the sweater being so much larger than the one modelled with the pattern, the yoke doesn't rest on the shoulders the same way. It's so wide, it sat at the very edge of my shoulders, where they were at risk of simply slipping off. I got my elder daughter to try it on, too, in case her bust size, which more closely matches my mother's, would make a difference, and it didn't. I didn't get a photo of it, but will before I make the changes needed to fix it.
Another thing about the yoke on a larger size is that, compared to the photo, it seems very narrow. Some of that can be attributed to the smaller gauge, but not much.
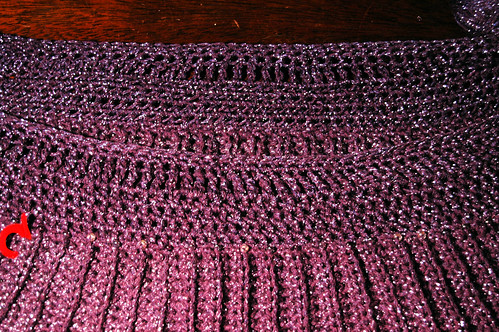
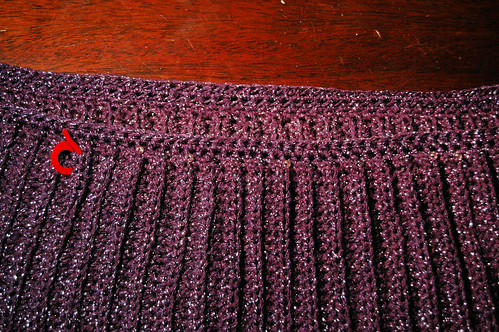
Here's a closer view of the yoke details. The round of triple crochet (tc) is where the optional ribbon would have been woven into, but I will be leaving it as is. There are 2 rounds of sc finishing the yoke. What I will be doing is undoing one of these rounds (the other one tightens and tidies up the tc round), then doing a mirror repeat of the rounds before the tc, reducing in the same pattern. This will add a couple of inches to the width of the yoke, which should be enough to keep it from falling off the shoulders, while still maintaining the wide neckline my mother likes.
Next up, figuring out the final sleeve seam!
No comments:
Post a Comment