I started out by printing a basic egg shape in the size I wanted, then used that to cut out a pair of templates in ordinary card stock.
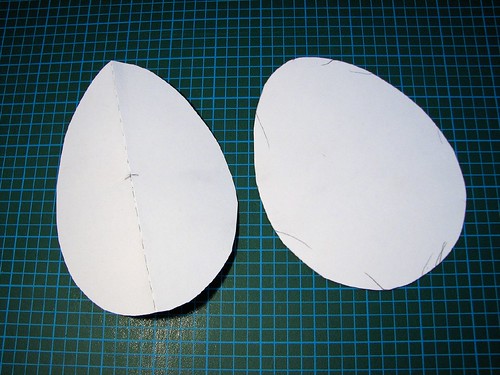
I left one alone, while the other was folded in half lengthwise. I also did a quick fold cross wise to find the centre and marked it.
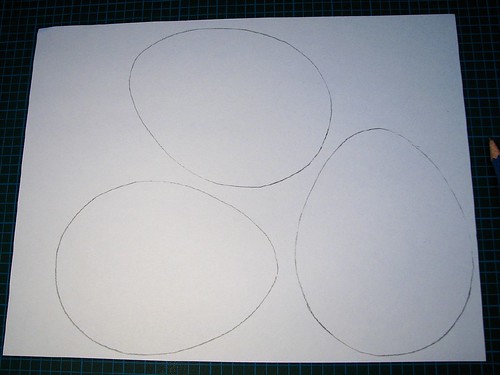
Using the same, plain card stock that I used for the template, I pencilled in the egg shapes. I had room enough for 3 per page, and I did two of them to make 3 eggs total. I might do more in other sizes. Using the template that was folded in half, I marked cutting lines, 3 in the top halves, 3 in the bottoms. I did get a photo, but for some reason, my camera refused to focus on the page.
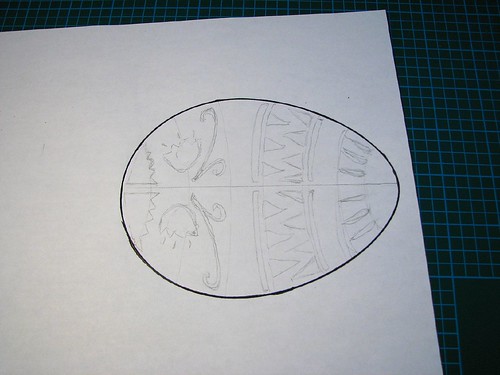
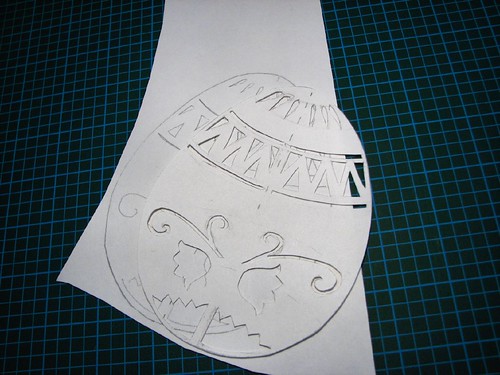
Going to my print out, I doodled a bit to come up with a design. These will be hung, so the top has to have enough solid paper to support the string. The design also had to keep a border around the edge, as well as leave a line in the centre for cutting, later. I didn't want to get intricate, as I want to get a few pieces under my knife for practice, first. Plus, since they'll be hanging, they need a fair amount of strength. I'll save intricate for something worth framing.
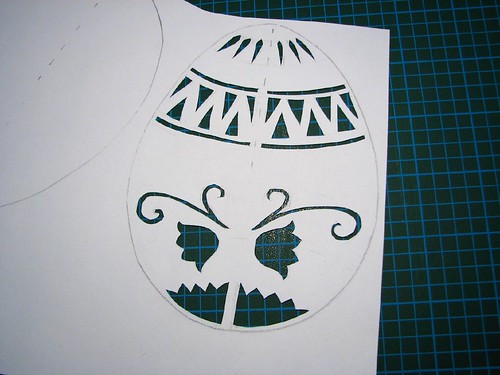
Next, I pencilled in the design onto one of the egg shapes, then cut out all the design elements inside the egg. In this photo, you can see the cutting line marked in the top half.
After cutting out the egg shape, I used it as a template to mark the pattern onto the second half. I could have done two different designs for each half, but decided to keep it symmetrical.
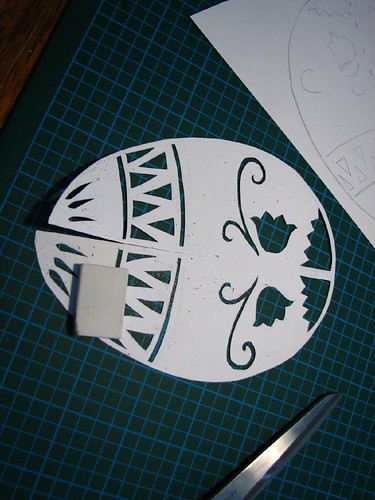
Once I'd transferred the design, I cut the split in the top half, then very carefully erased all my pencil marks.
After that, I just needed to repeat the process for the second half, except that I made the cut on the bottom half instead of the top. Lastly, I slid the two halves together along the cut lines.
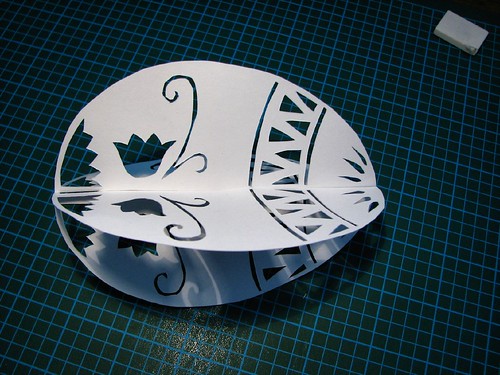
And here we have the finished egg.
The whole thing took me about an hour to do.
No comments:
Post a Comment