You can click on the photos for larger sizes, or you can visit here for access to bigger photos showing more detail
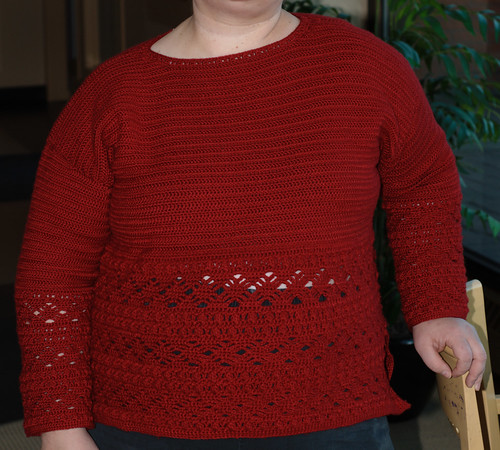 First off, a basic front view. Note the pasty white line showing through the red. That's my skin. :-P I have to both hike up the waist on my pants and pull down the sweater to avoid this. This is one of the things that didn't turn out the way they did in the photo on the pattern. The sweater worn by the model had the body panel reaching quite a lot lower. According to the instructions, the size I made (XL) had more rows than the one the model was wearing (which was either a S or M). There's no way the sweater she was wearing had fewer rows in the body than what I'm wearing here.
A basic back view.
 Neckline. Before I tried that final blocking, I had to take off both my hair clip and my glasses to get it over my head, and it had a tendency to ride up tight against the neck. I no longer have to remove my glasses and hair clip to put it on, and it's a LOT more comfortable.
Detail of the neckline and shoulder seam. The neckline is done in the same smaller hook as the body.
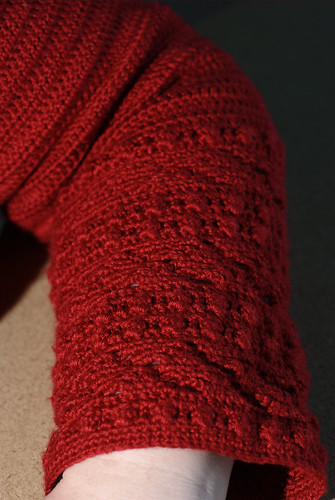
Arm detail. The decorative area in all the pieces were done in a larger hook than the body and trim.
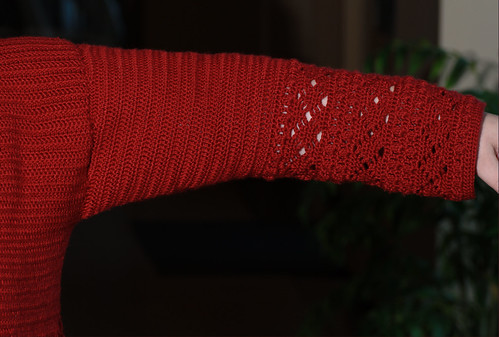
Arm and shoulder seams. The biggest problem I had when I first tried it on after assembly was that the elbow area was so tight as to make it unwearable. That is no longer a problem at all.
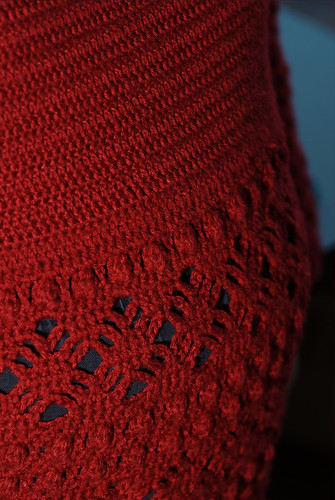
Transition area from panel to body. The last row of the decorative area is done in half-double crochet (hdc) and the body is done in a smaller hook in double crochet (dc).
No belly showing in this picture. ;-) When it does ride up, it gets a bit breezy. The dc area, however, is quite warm. So I have toasty upper body, with chilly spots at my waist. LOL
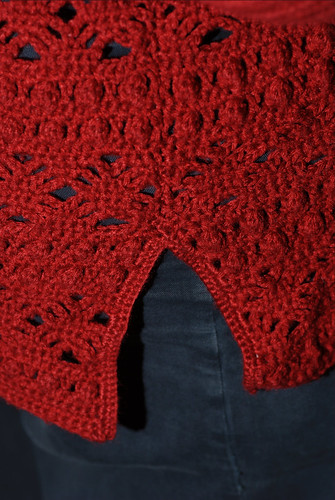
Side slit and decorative panel seam detail.
In following the instructions, the side slit started much higher than this - well above the height shown in this photo. The instructions also had the slit edged in 4 rows of sc, with a sc in the seam itself, with 2sctog (two single crochet together) on either side. Not only did the slit end up way too high, but the trim stuck out weirdly. I lowered the slit, then edged it in only 2 rows of sc, skipping the seam stitch completely and doing one 2sctog right at the top. I liked how it looked much better. The pattern did not have a photo of the side seam - in fact, I would never have thought there was a side slit at all, based on the photo.
The hem at the bottom was done from the start. The hem was done in the smaller hook, then the decorative area in the larger hook.
What I changed: Based on the measurements in the instructions, the XL should have fit me fine. Pattern instructions generally assume an hourglass figure, however, which I don't have. I also like my tops loose. Because of the decorative pattern, I couldn't just increase the numbers to the next size up - I would've had and extra 8 inches or so in the body panels and an extra 4 inches or so in the arm. I also couldn't find the type of yarn they used - Rowan 4 ply cotton. I did find out about a store that carries it, but the miser in me would never have been willing to pay that much for the 15 balls of yarn I would've needed. So I used a different, slightly chunkier yarn, and used larger hooks. The pattern recommended C/2.75mm and D/3.25mm hooks. I used an E/3.55 and an F/3.75.
What I would change: If I could change only one thing about this sweater, I would add an extra 6-8 inches of dc rows to the body panels. I would really prefer the extra length - and the lack of breeze.
If I'd known better ahead of time, I would've maimed (wet blocked) the pattern pieces right from the start, instead of pinning, then spraying them. I also would have bought the foam pieces I now have for a blocking surface earlier. I simply didn't have a good surface to pin such large pieces to.
I think I would also have used the same size hook - the smaller one - for the whole thing. I don't know why the decorative areas were done in a larger hook, but I liked the more compact stitches that resulted with the smaller hook better. When I did swatches to test blocking techniques, I used only the small hook, and I really liked the look of it better than with the larger hook.
Final judgement: I really like this sweater. I like the look of it and, now that it's properly blocked, it's comfortable to wear. Well, except for the beezy bits. ;-) I would definitely want to make it again, with the changes I mentioned above.
1 comment:
It is really beautiful! It looks lovely on.
Post a Comment